How can I get SQL Backup with Generate Script Method?
You can back up your database using Microsoft SQL Server Management Studio with the following steps.
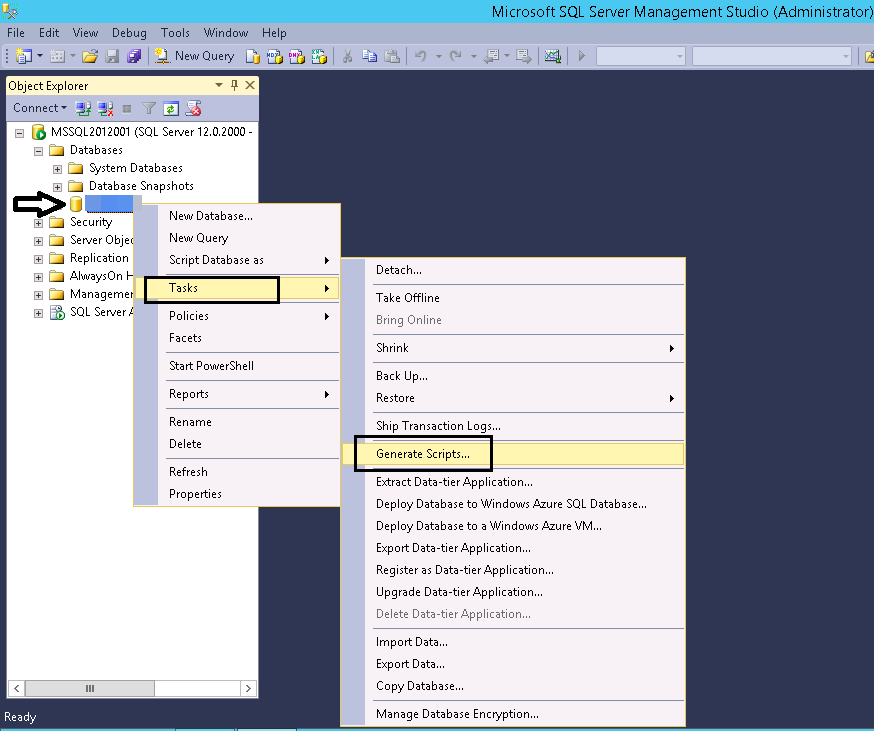
Select the database you want to process by clicking Databases from the relevant screen.

Right click on the relevant database, click on the "Task" menu, click on "Generate Scripts" in the drop-down menu.
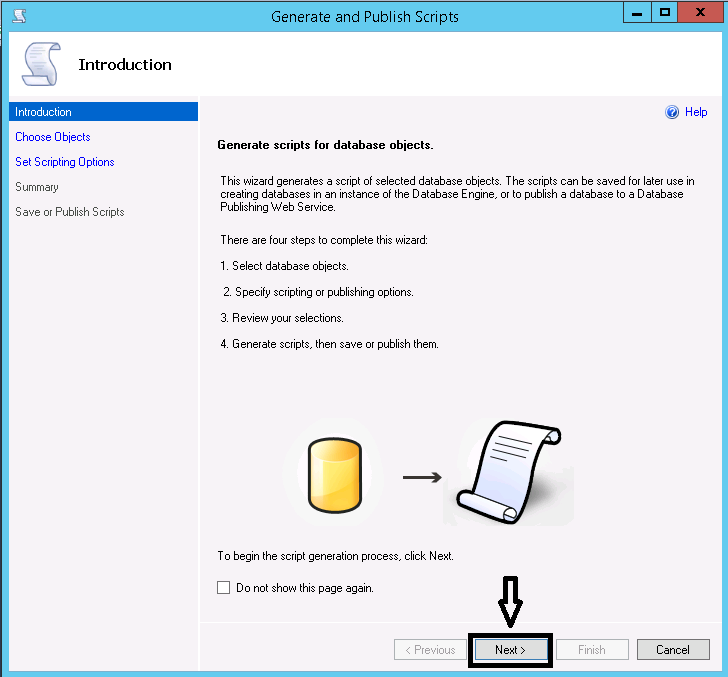
You can advance the opened window by clicking "Next".
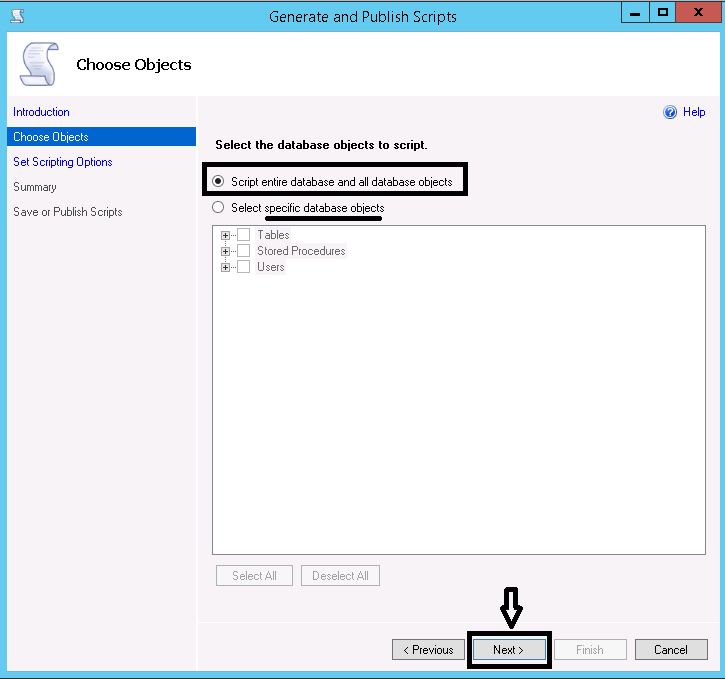
If you want to back up only one / several tables instead of the entire database, you can click on "Select specific database objects" and select the table or tables you want to process. In the process performed by us, the entire database is backed up. Therefore, click "Next" with the "Script entire database and all database objects" option selected.
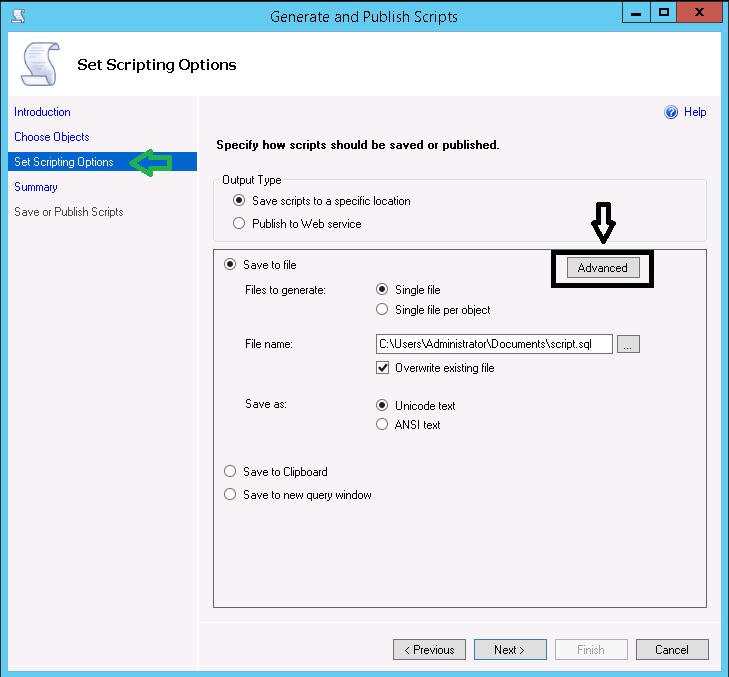
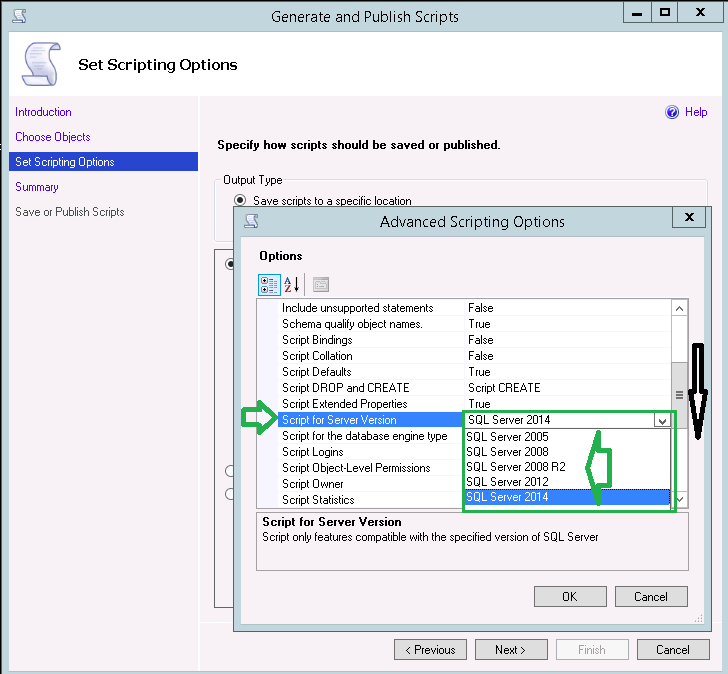
On the Set Scripting Options page, you can select advanced settings for your Microsoft SQL backups from the "Advanced" menu.
In the relevant area, for example, you can get a backup compatible with a particular version of SQL Server, especially from the "Script for Server Version" line. Although the backup process performed by us on the Azure Pack platform is Microsoft SQL Server 2014, it is seen that the backup image can be made compatible with SQL Server 2005, SQL Server 2008, SQL Server 2008 R2, SQL Server 2012 and SQL Server 2014.
From the Types of data to script line, mark the data and schema options of the relevant database.
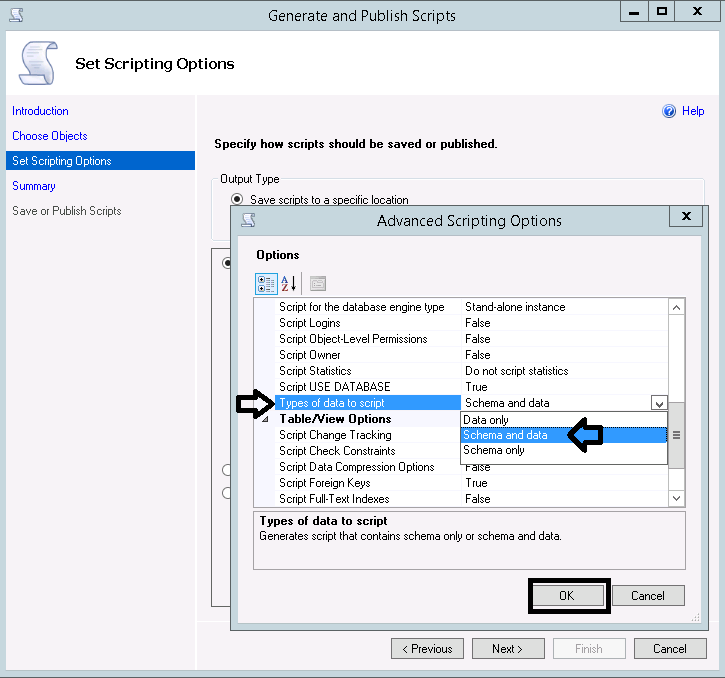
Apart from this, you can change the "Script Collation" line to "True" upon request and make a database backup with character compatibility. For detailed information about other options in the relevant area, you can review the address below.
https://msdn.microsoft.com/en-us/library/bb895179.aspx#advpubopts
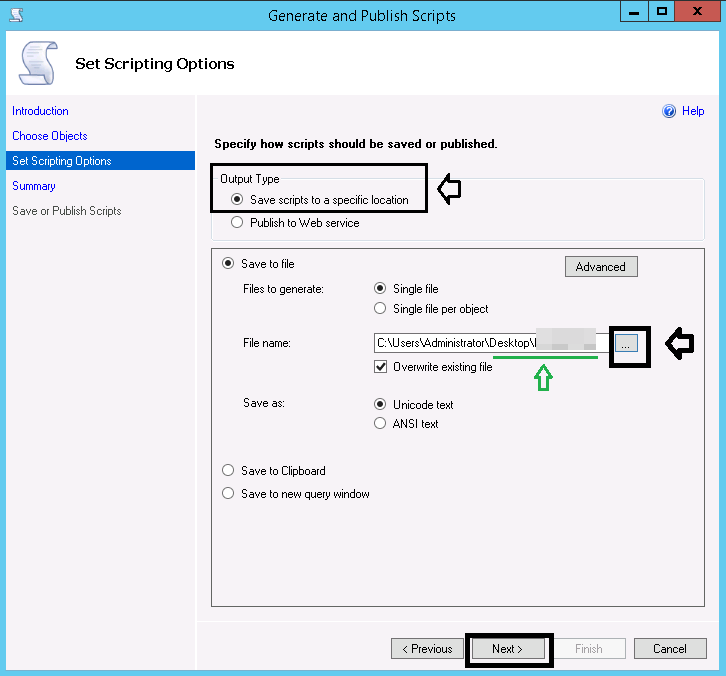
Select the parameters you want to use in Advanced Scriptings Opsions and click "OK". In the File Name line, select and check the directory where you want the SQL backup to be loaded. You can continue the process by clicking Next.
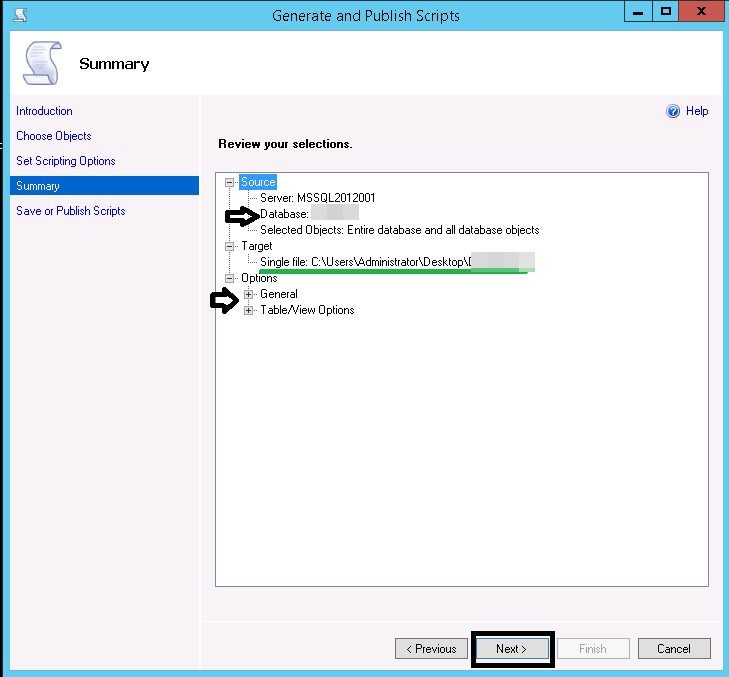
Summary information is given about the transactions made in the Summary window. No selection will be made in this area. You can view the database name and table information that are processed. Click "Next" to continue after the check.
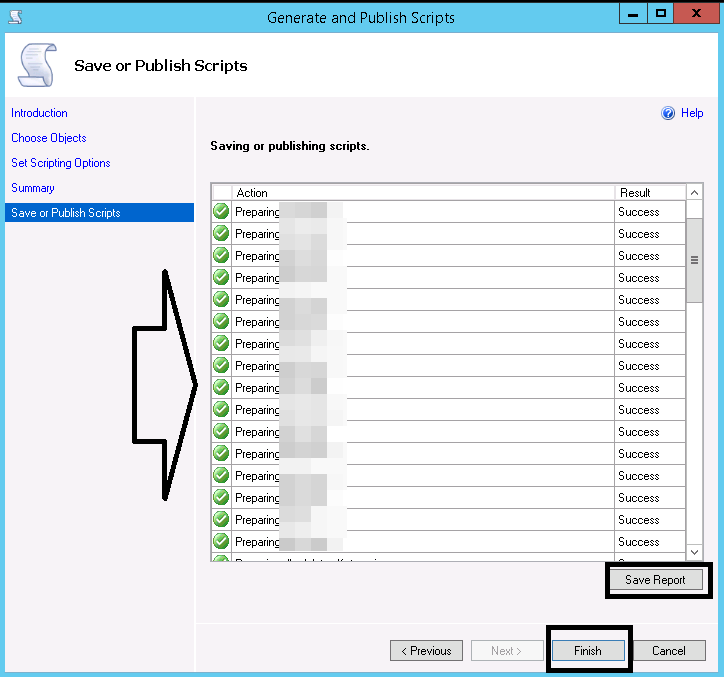
You can close the related page by clicking "Finish" on the opened page, and click Save Report to download the transaction summary as HTML.
March 7, 2020, 5:39 p.m.